Posted 12 years ago
·
Author
Hey guys! I figured it was time to post something new. Seeing as how the Soft Light layer shading took off in a big way with the IMVU community, I decided I should show how to take it a step further! I attempted to record video of this process but Camstudio was an epic fail. Screenshots it is! Here is the PSD file. I made it using Photoshop CS6 Extended.
The prerequisite to this tutorial is here.
1. Open your document. Lets just assume it's a skin.

2. Choose your base out of various greys. Your choice depends on how light or dark you want your skin to be.

3. Make a new layer and set it to Soft Light.
4. Shade and highlight like normal with the brush you are comfortable with. I use these.
5. Select your base and your Soft Light layer together by holding down the SHIFT key.
6. Right click and choose Merge VIsible.
7. Now you'll have a black and white shaded skin layer.

8. Right click your merged layer and select Blending Options.
9. Tick the box next to Gradient Overlay.
10. For the blending mode I chose Overlay. It is set to Normal by default. The style is Linear. Both of these things can be played around with and set to your liking. This is just what I use. The angle I used was 65 degrees but you'll have to fiddle with it according to where YOUR light source is coming from.


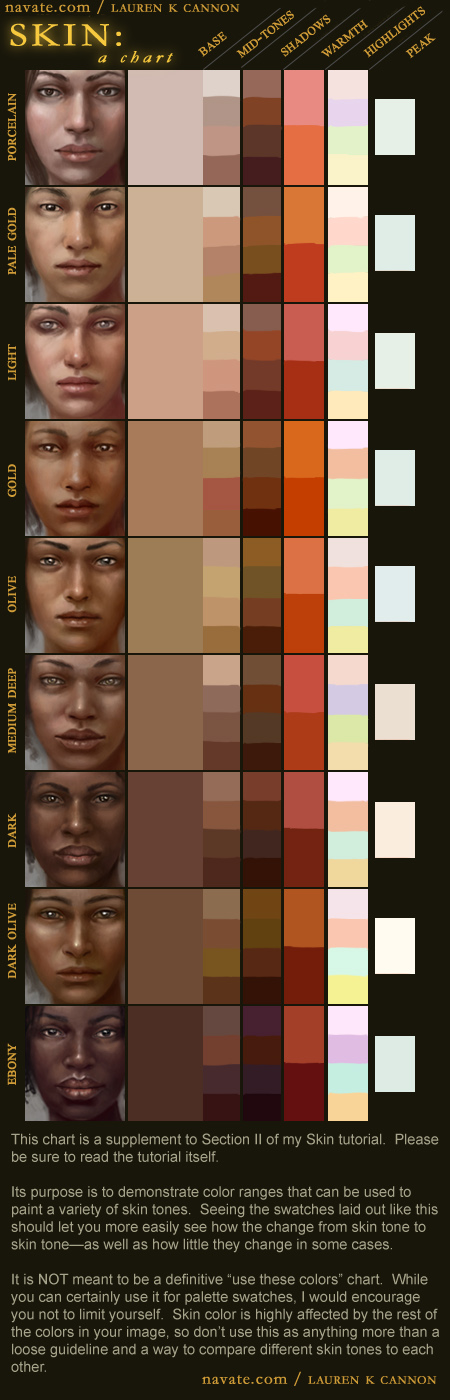
11. Now click on the actual gradient bar in this box. Another box should pop up. This is where you can adjust the colors. Find a good 3 color skin template and make the far left side the darkest and the far right side the lightest with the middle being mostly your target base color. You can add new colors to the gradient by moving your mouse near the bar in the new box and it should turn into a hand. Click and a new marker will appear. Add as many as you like, but for IMVU purposes, three is plenty. Here are some resources: One. Two. Three.
12. Click OK. Your skin should be appropriately colored. How easy was that?!

13. This is optional. For more added depth and realism you can make a new layer and set it to color or hue. Take a super soft brush and in the shadows add a purple and gradually move up to blue. Once you hit the mid tones you can gently use a green and a yellow in the highlights.

Added bonus, I placed a bruise on mine. Special brushes can be used to make it fast. I chose to freehand mine. Excuse the sloppiness.
Annnnnd you're done. This technique can be used on just about anything so get out there and play!
Additional resources:


The prerequisite to this tutorial is here.
1. Open your document. Lets just assume it's a skin.
2. Choose your base out of various greys. Your choice depends on how light or dark you want your skin to be.
3. Make a new layer and set it to Soft Light.
4. Shade and highlight like normal with the brush you are comfortable with. I use these.
5. Select your base and your Soft Light layer together by holding down the SHIFT key.
6. Right click and choose Merge VIsible.
7. Now you'll have a black and white shaded skin layer.
8. Right click your merged layer and select Blending Options.
9. Tick the box next to Gradient Overlay.
10. For the blending mode I chose Overlay. It is set to Normal by default. The style is Linear. Both of these things can be played around with and set to your liking. This is just what I use. The angle I used was 65 degrees but you'll have to fiddle with it according to where YOUR light source is coming from.
11. Now click on the actual gradient bar in this box. Another box should pop up. This is where you can adjust the colors. Find a good 3 color skin template and make the far left side the darkest and the far right side the lightest with the middle being mostly your target base color. You can add new colors to the gradient by moving your mouse near the bar in the new box and it should turn into a hand. Click and a new marker will appear. Add as many as you like, but for IMVU purposes, three is plenty. Here are some resources: One. Two. Three.
12. Click OK. Your skin should be appropriately colored. How easy was that?!
13. This is optional. For more added depth and realism you can make a new layer and set it to color or hue. Take a super soft brush and in the shadows add a purple and gradually move up to blue. Once you hit the mid tones you can gently use a green and a yellow in the highlights.
Added bonus, I placed a bruise on mine. Special brushes can be used to make it fast. I chose to freehand mine. Excuse the sloppiness.
Annnnnd you're done. This technique can be used on just about anything so get out there and play!
Additional resources:

