Posted 8 years ago
·
Author
Well, I discovered this way to make dramatic textures without using opacity or weird planes on mesh, expecially in a room mesh for Imvu. That's not really a tutorial but a test... I'm learning about this trick right now 
Let's go to build a simple land step by step.
1. Make a plane, add some polygon if you wanna build some hillside. CREATE PLANE PARAMETERS (optional)

2. Convert in Editably Poly
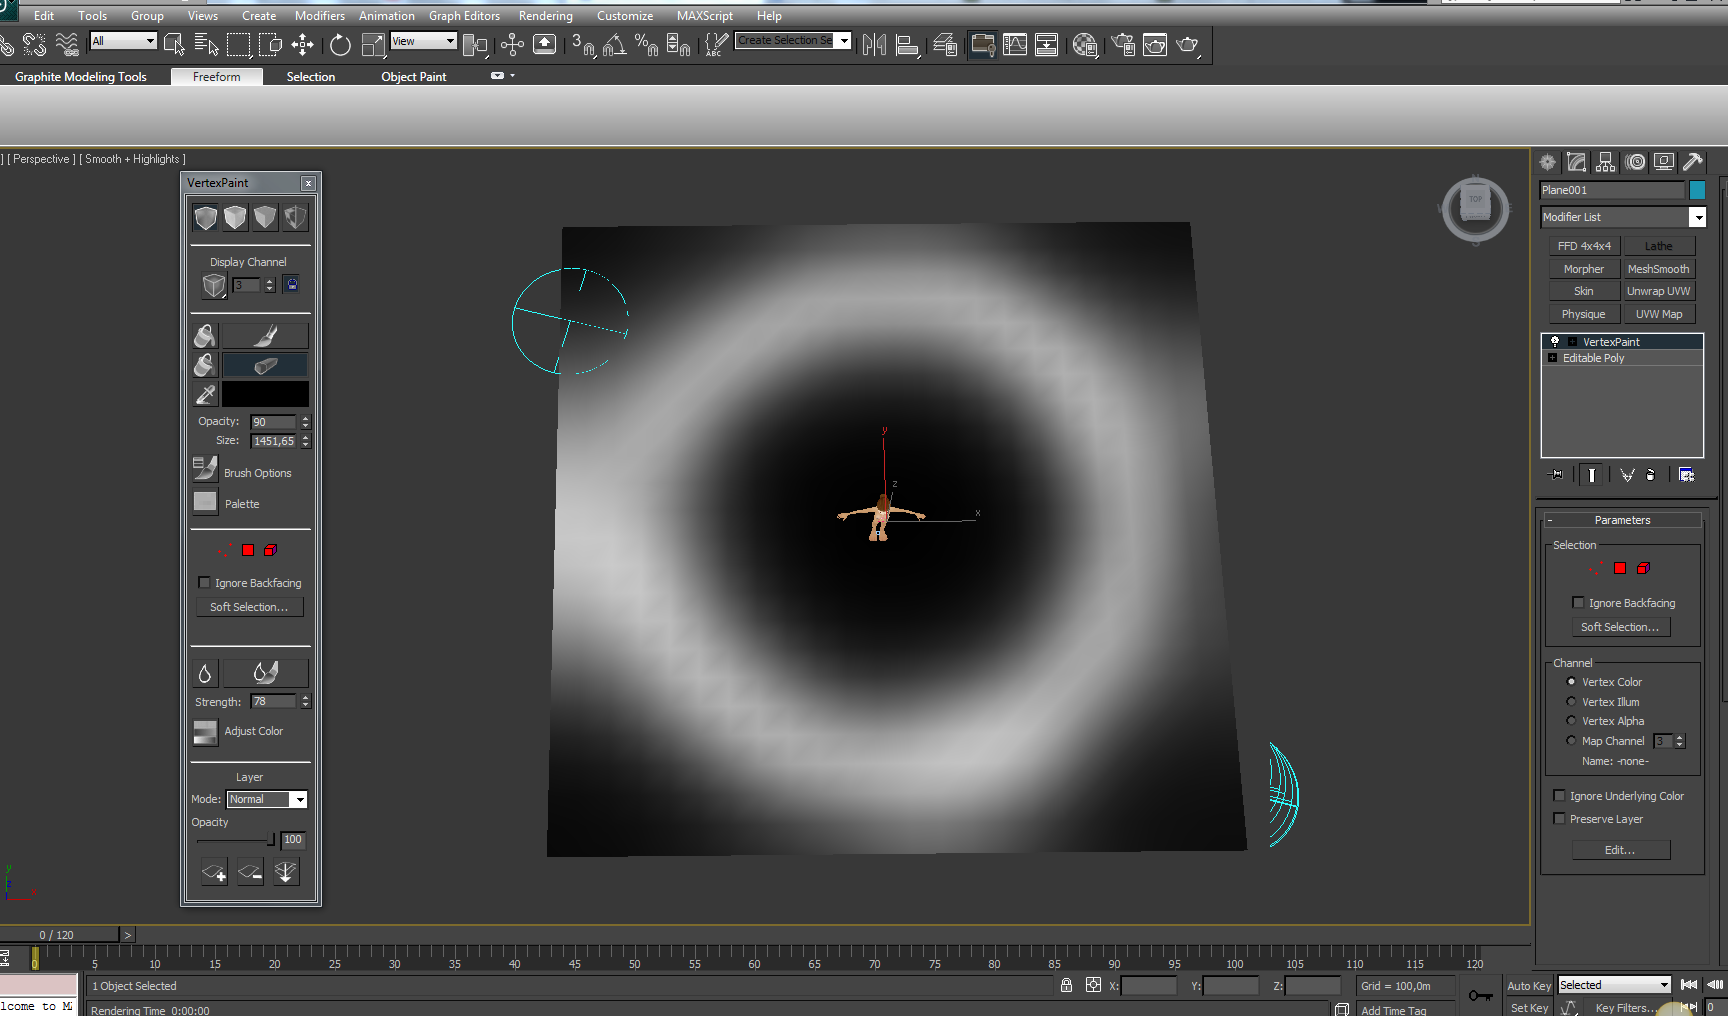
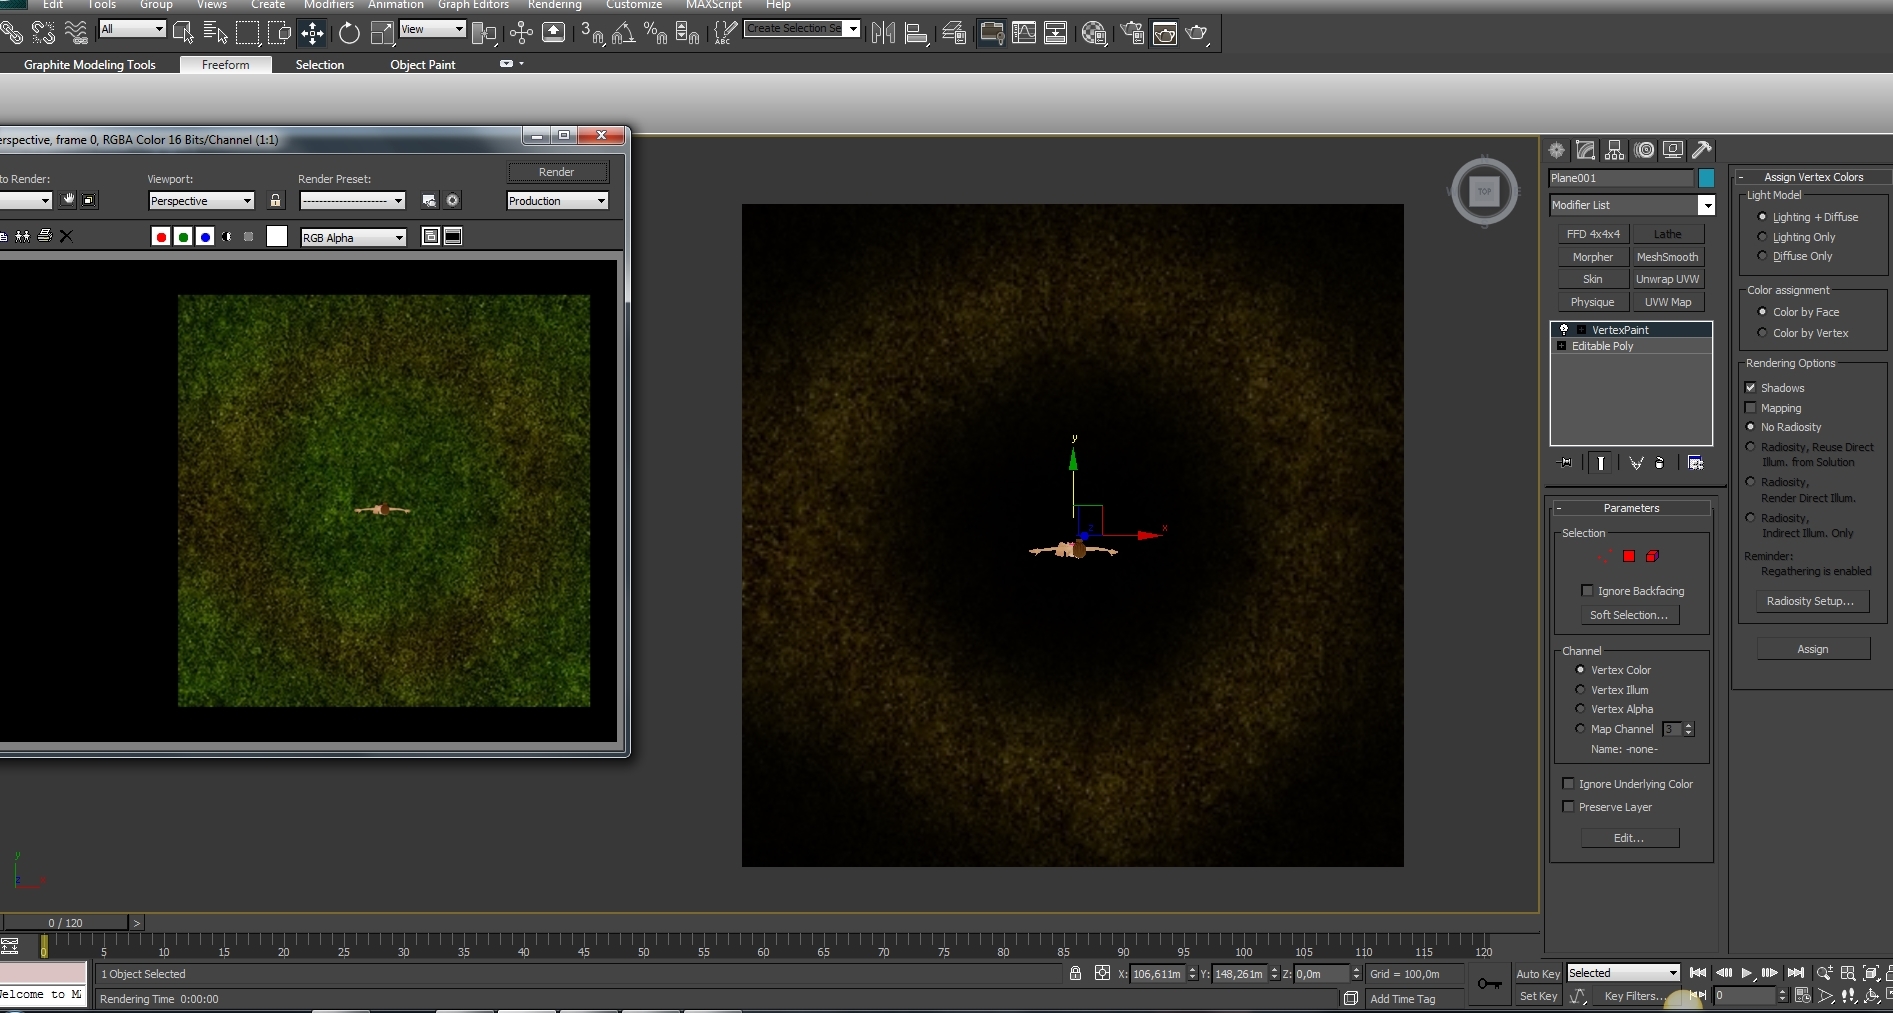
3. Click on Vertex Paint from Modifiers List, you will see the Vertex Paint window pop in.

4. Click on Vertex Color Display - Unshaded Paint All
5. Make lights lines using the Erase button, adjust size and opacity by parameters. Then use Blur or Blur all to make a perfect shadow.

Then use Blur or Blur All to make a perfect shadow.
6. Click on Material Editor Diffuse Bitmap Mix, to make a double texture.

7. You need to charge two different textures in this way:

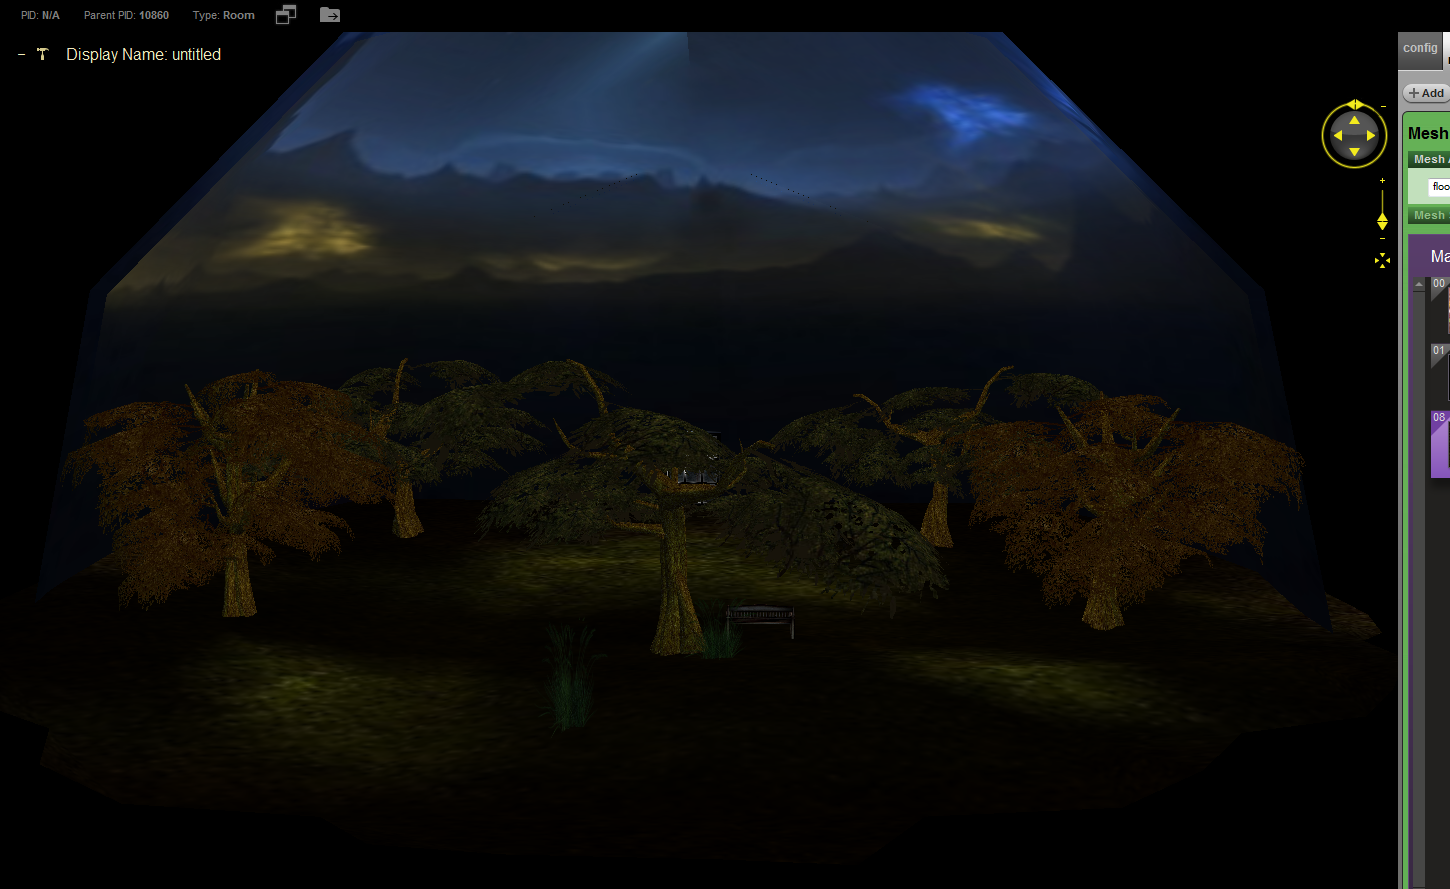
8. Now, just you have to assign the material, you should see your plane like in this pic
9. Go ahead and click on Skin modifier Parameters Add Root, then export xsf, xmf files.
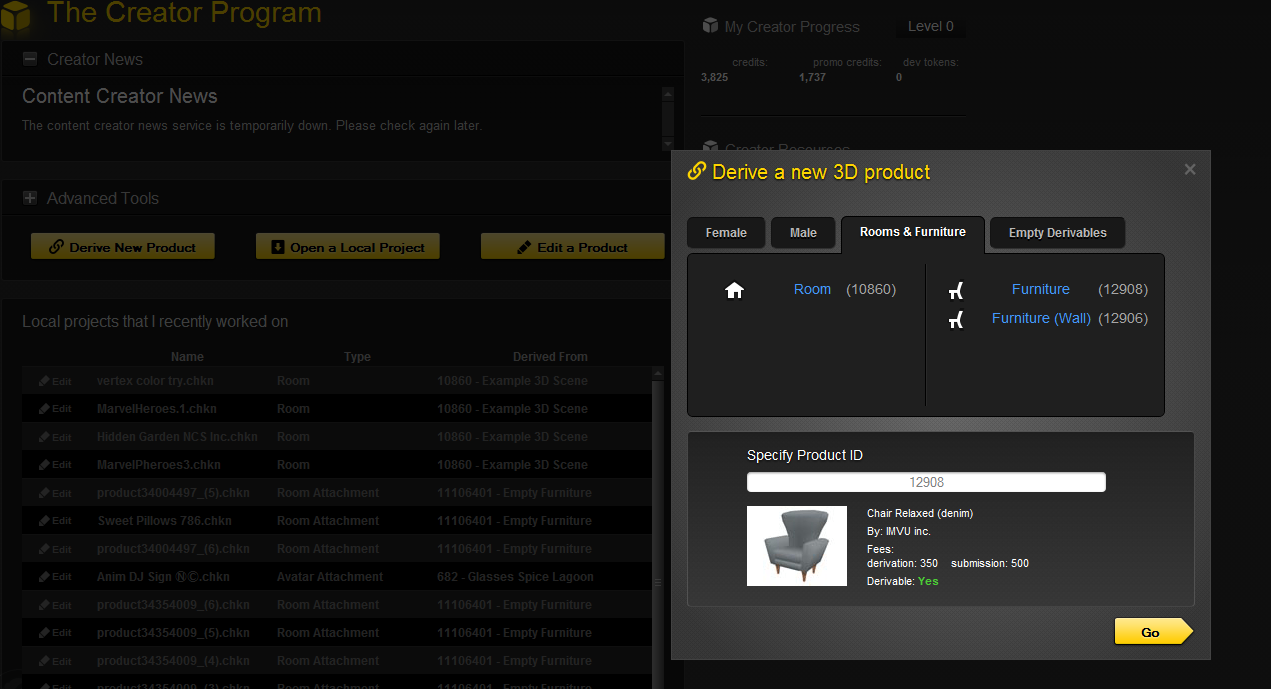
10. Here we go, IMVU create mode... Charge your files in Derive New Product Rooms & Furniture Furniture Go 
11. On Material Parameters click on Vertex Color.

I know I missing a step because that's not the result I wished.
Let's go to build a simple land step by step.
1. Make a plane, add some polygon if you wanna build some hillside. CREATE
PLANE PARAMETERS (optional)2. Convert in Editably Poly
3. Click on Vertex Paint from Modifiers List, you will see the Vertex Paint window pop in.
4. Click on Vertex Color Display - Unshaded
Paint All5. Make lights lines using the Erase button, adjust size and opacity by parameters. Then use Blur or Blur all to make a perfect shadow.
Then use Blur or Blur All to make a perfect shadow.
6. Click on Material Editor
Diffuse Bitmap Mix, to make a double texture.7. You need to charge two different textures in this way:
8. Now, just you have to assign the material, you should see your plane like in this pic
9. Go ahead and click on Skin modifier
Parameters Add Root, then export xsf, xmf files.10. Here we go, IMVU create mode... Charge your files in Derive New Product
Rooms & Furniture Furniture Go 11. On Material Parameters click on Vertex Color.
I know I missing a step because that's not the result I wished.
@xhynrae
Where I was wrong? I'd love your help to make it as a good tutorial for ppl who wanna learn to create their own meshes.  they supported exporters only for old versions which was a major turn-off for me, jeez im such an outdated dude