Posted 12 years ago
·
Author
So. you know those cool little laser things... for example 
Ok. VVVVVVV Read To learn silly pants.
1. Gimp, Get it http://www.gimp.org/ its free and shtuff
2. open gimp.
3. open the file you want to edit. (for beginners, i recommend starting on a blank black surface.)
4. create a new layer, name it
5. k, now click the paths tool (make sure you're working on the second layer)
6. click on a spot on the image and a little circle should appear
7. click on a farther spot away from the previous click, but hold it and drag.
8. make a sort of sideways "U" angle
9. do the same as step 6. then repeat 7
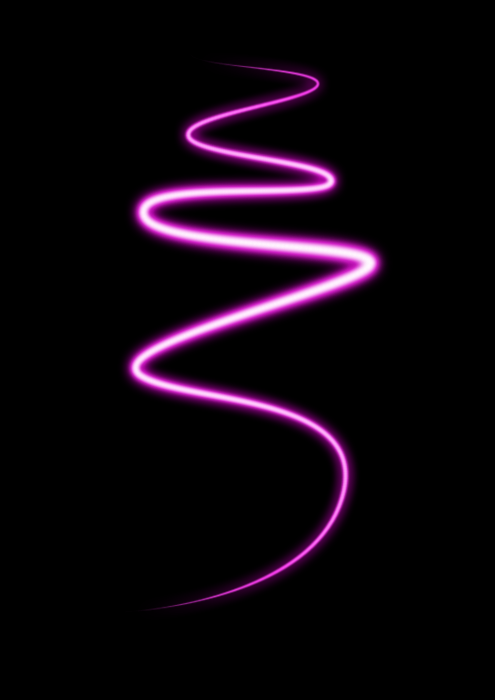
10. make opposite "U" angles across the image to kind of mimic a spiral
~should look like this ~
~
11. now go to edit, and go down to stroke path
12. make sure stroke with paint tool is checked and press stroke
13. now go to filters, down to alpha to logo, and then go down to neon
14. dont mess with the background color it should stay black, pick the neon color and make it pretty!
15. press ok.
16. now. there should be a layer that is just black background. delete that
17. now merge down neon tubes
18. erase every other line to make it look nice or something.. do whatever. you're welcome.
 have fun.
13.
Ok. VVVVVVV Read To learn silly pants.
1. Gimp, Get it http://www.gimp.org/ its free and shtuff
2. open gimp.
3. open the file you want to edit. (for beginners, i recommend starting on a blank black surface.)
4. create a new layer, name it
5. k, now click the paths tool (make sure you're working on the second layer)
6. click on a spot on the image and a little circle should appear
7. click on a farther spot away from the previous click, but hold it and drag.
8. make a sort of sideways "U" angle
9. do the same as step 6. then repeat 7
10. make opposite "U" angles across the image to kind of mimic a spiral
~should look like this
11. now go to edit, and go down to stroke path
12. make sure stroke with paint tool is checked and press stroke
13. now go to filters, down to alpha to logo, and then go down to neon
14. dont mess with the background color it should stay black, pick the neon color and make it pretty!
15. press ok.
16. now. there should be a layer that is just black background. delete that
17. now merge down neon tubes
18. erase every other line to make it look nice or something.. do whatever. you're welcome.
have fun.13.